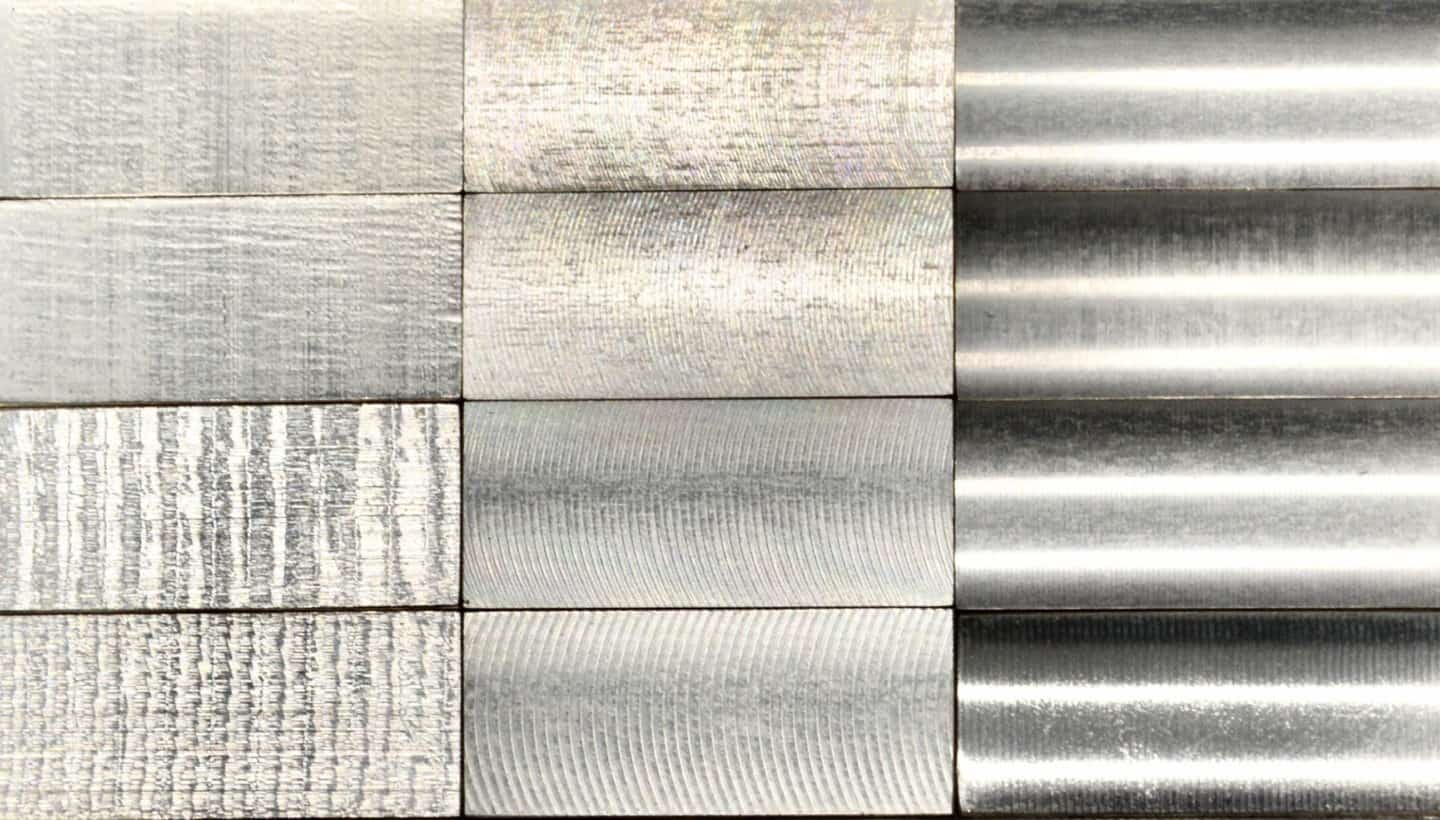
CNC machining is a highly accurate and precise manufacturing process that can create parts with tolerances as tight as 0.025 mm. However, being a subtractive manufacturing method, CNC machining leaves cut marks that create a level of roughness on the finished product's surface.
What is surface roughness?
Surface roughness is a measure of the average texture of a part's surface, in this case, after CNC machining. There are different parameters used to define surface roughness. One of the most ubiquitous of these is Ra (Roughness average), which is derived from the differences between heights and depths on a surface. Ra surface roughness is measured microscopically and is usually in micrometres (x 10~⁶ m). Note that surface roughness in this context is different from surface finish. The surface finish of a machined part can be improved via various finishing methods such as anodizing, bead blasting, and electroplating. Surface roughness here refers to the as-machined surface texture of a part.
How are different surface roughness options achieved?
A part's surface roughness after machining is usually not random. Instead, steps are taken to ensure that a specific roughness is achieved. This means that surface roughness values are planned in advance. However, not just any value is usually specified. In manufacturing, there are specific Ra values that are considered industry standards, as specified in ISO 4287. These are the values that may be specified during CNC machining. They range from 25 um to 0.025 um and apply to all kinds of manufacturing and post-processing operations.
At Xometry Europe, we offer four surface roughness levels that are also the values typically specified for CNC Machining applications:
- 3.2 μm Ra
- 1.6 μm Ra
- 0.8 μm Ra
- 0.4 μm Ra
Different roughness values are required for different applications. Lower surface roughnesses should only be specified when necessary. This is because the lower the Ra value, the more machining effort/operations and quality control will be required. They can significantly drive up machining costs and time. Post-processing operations aren't usually applied when specific surface roughness values are required. This is because these operations cannot be controlled precisely and may affect the dimensional tolerance of parts.


